How to convert a Procreate drawing to SVG without losing smooth lines
Export clean artwork from Procreate, convert the raster drawing to editable SVG paths, and avoid jagged lines, noisy traces, and excessive nodes.
Quick answer
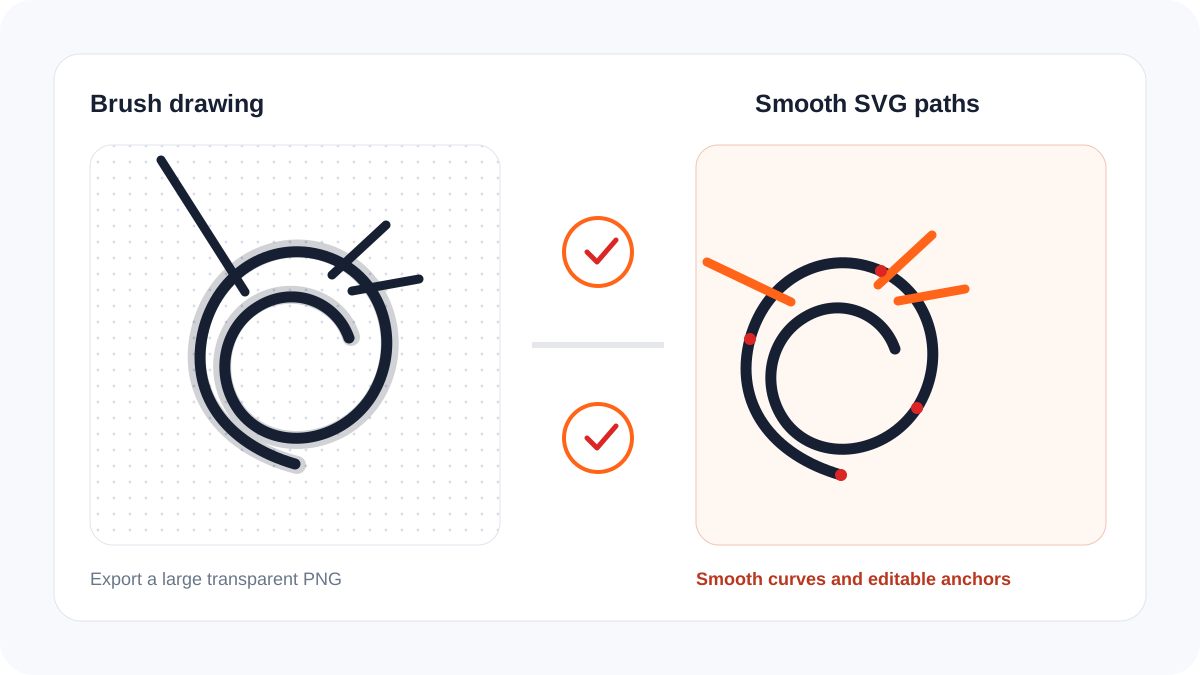
Procreate does not export editable SVG paths. Export the artwork as a large PNG with transparency, remove paper texture and unwanted layers, then convert the clean image with PNG to SVG. Use the largest practical canvas, strong edge contrast, and deliberate line weight. After conversion, inspect curves and gaps instead of judging only the thumbnail.
Why the source export matters
According to the official Procreate handbook, the app shares artwork as formats such as PNG, JPEG, TIFF, PDF, PSD, and its native format. These formats can preserve pixels or layers, but they do not automatically turn brush strokes into Bézier paths. Vectorization has to infer shapes from the exported pixels.
| Source choice | Effect on vectorization | Recommendation |
|---|---|---|
| Small screenshot | Stair-stepped edges become paths | Avoid it |
| Large transparent PNG | Clear boundaries and no paper box | Best general source |
| JPEG | Compression creates halos and blocks | Use only if no PNG exists |
| Textured brush | Many small regions and nodes | Simplify or clean first |
| Solid inking brush | Stable silhouette and smoother trace | Ideal for cut artwork |
Prepare the drawing in Procreate
- Duplicate the document so the editable original remains safe.
- Hide the paper, mockup, reference photo, guides, and unrelated layers.
- Put the intended artwork on transparency. Check that white details are real shapes and not merely the canvas showing through.
- Remove accidental dots and close gaps that should form complete shapes.
- Export a large PNG. Do not downscale it for messaging or social media before vectorization.
- Convert with PNG to SVG and compare the result at 200, 400, and 800 percent.
Choose the correct result for the use case
Flat lettering, icons, line drawings, stickers, cut files, and simple illustrations are good candidates. Painterly work with soft blending, grain, translucent watercolor, or hundreds of shades normally belongs in a high-resolution raster format. Converting that work to SVG can create a very large file without making it meaningfully more editable.
For a cutting machine, inspect closed paths, minimum gaps, doubled lines, and excessive nodes. For web or print, verify the viewBox, colors, transparency, and visual fidelity. The SVG optimizer can remove unnecessary markup after the geometry has been approved.
Frequently asked questions
Can Procreate save SVG directly?
No. Export a clean raster source and vectorize it, or redraw the artwork in a vector application when exact path construction is required.
Why does the SVG have too many nodes?
Texture, antialiasing, noise, and a low-resolution source create many small boundaries. Clean the source and avoid maximizing detail without a production reason.
Will vectorization preserve every brush texture?
Not as an economical set of clean paths. Keep a raster master for texture and create a simplified vector version for scaling, cutting, or recoloring.